
Easy Homemade Apple Jelly Recipe (No Added Pectin)

Prolong the flavours of autumn with this easy homemade apple jelly recipe.
With its clear golden colour and fresh apple flavour, this smooth preserve is delicious on toast, scones and pancakes. It can also be used to glaze pastries, serve with cheese or add sweetness to savoury sauces.
This apple jelly is homemade from fresh apples, sugar, lemon and water. It sets with the natural pectin found in the apple skins, cores and seeds, so no commercial pectin is needed.
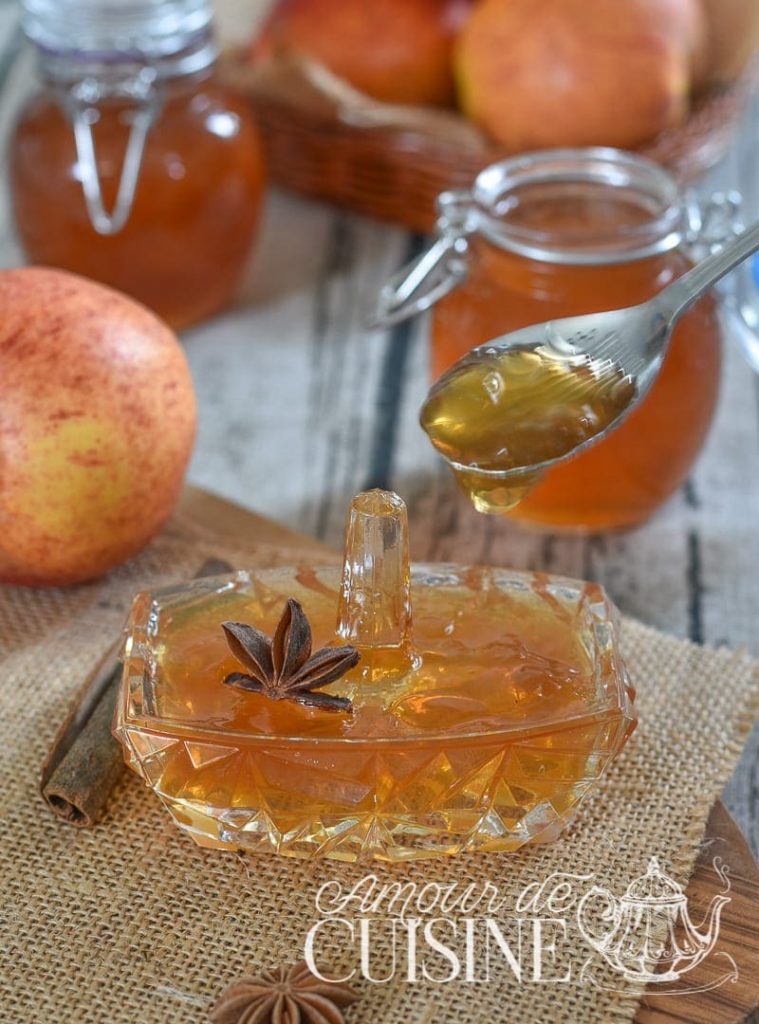
An easy apple jelly recipe made from scratch
Making apple jelly at home is easier than it may seem. The main difference between jelly and jam is that jelly is prepared with strained fruit juice rather than fruit pulp. This gives it a smooth, translucent finish with no pieces of apple.
For a long time, I bought apple jelly whenever I needed to glaze a fruit tart. It was convenient, but homemade jelly proved more economical, especially when I had plenty of apples to use.
The detail that makes this traditional method work is keeping the skins, cores and seeds during the first cooking stage. These parts contain much of the fruit’s natural pectin. Once the juice has been extracted, the solids are removed, leaving a clear base for the jelly.
If you have a generous apple harvest, explore more of my apple recipes.
Why this homemade apple jelly works
- No added pectin: the recipe uses the natural pectin already present in the apples.
- Only four ingredients: you need apples, lemon, water and granulated sugar.
- A reliable sugar calculation: the sugar is measured according to the amount of strained juice rather than the original weight of the fruit.
- Easy setting tests: temperature, texture and the cold-plate test help you recognise the correct setting point.
- Plenty of uses: enjoy it as a spread, pastry glaze, cake filling or accompaniment for cheese and roasted meat.

Ingredients for homemade apple jelly
You need only a few simple ingredients, but the type and maturity of the apples can affect how firmly the jelly sets.
- 1 kg (2.2 lb) organic apples, unpeeled: organic or unwaxed apples are preferable because the skins, cores and seeds are used. Choose sound fruit and remove all bruised or damaged areas.
- 1 lemon: its acidity balances the sweetness and supports the natural pectin as the jelly cooks.
- 300 ml (1 ¼ cups) water: this starts the cooking process without excessively diluting the apple juice.
- Granulated sugar: weigh the strained juice and use an equal weight of sugar. If you collect 650 g of juice, for example, add 650 g of sugar.
Important: calculate the sugar from the weight of the filtered juice, not from the original kilogram of apples. The juice yield will vary according to the apple variety and its moisture content.
The best apples for apple jelly
A combination of tart and sweet apples produces a more interesting flavour than a single variety. Slightly underripe apples are particularly useful because they generally contain more pectin than very ripe fruit.
- Bramley: sharp, flavourful and particularly suitable for British readers.
- Granny Smith: firm and tart, with enough acidity to balance sweeter varieties.
- Belle de Boskoop or Reinette: aromatic cooking apples that work especially well in traditional preserves.
- Golden Delicious, Fuji or Gala: sweeter apples that give the jelly a mellow fruit flavour.
- Crab apples: naturally tart and rich in pectin. Adding a few may also give the jelly a pinker colour.
Windfall apples can be used if they remain sound. Cut away bruised sections, but discard any fruit showing mould or signs of decay.
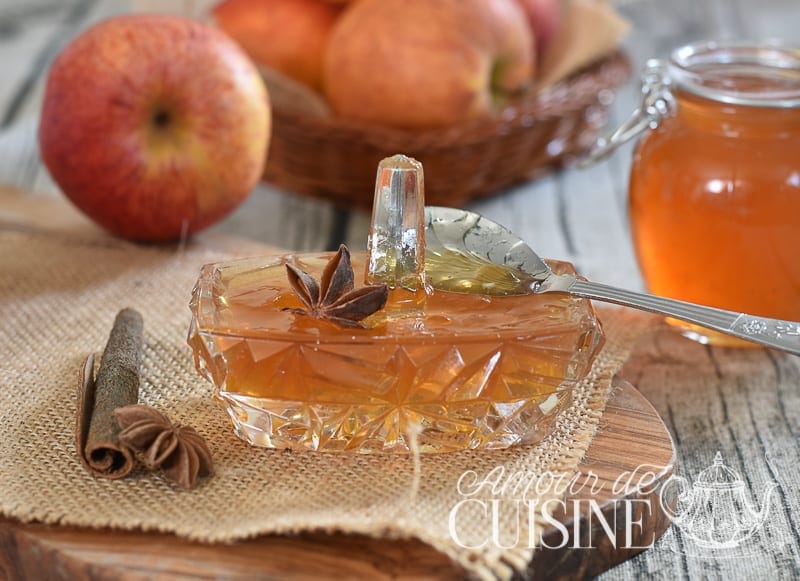
How to make apple jelly without added pectin
1. Prepare the fruit
Wash the apples and lemon thoroughly. Cut the apples into quarters or large chunks without peeling or coring them. Retaining the skins, cores and seeds provides the natural pectin needed for a good set.
2. Slowly cook the apples
Place the apples and chopped lemon in a large, heavy-based saucepan. Add 300 ml of water, cover and bring gently to a simmer.
Cook over low heat for 45 minutes to 1 hour, stirring occasionally. The apples should become extremely soft and collapse into a loose, chunky pulp.
3. Extract the apple juice
Line a sieve or colander with a jelly bag, fine muslin or a clean, thin kitchen cloth. Place it securely over a large bowl and add the cooked apples with all their liquid.
Allow the juice to drain for at least 30 minutes. For the clearest apple jelly, leave it for several hours without squeezing the bag. Pressing extracts more juice but can allow fine particles of pulp to pass through, producing a cloudier jelly.
4. Weigh the juice and add the sugar
Weigh the strained juice, then measure the same weight of granulated sugar. Pour both into a clean, wide saucepan.
Heat gently and stir until the sugar has dissolved completely. Check that no crystals remain on the bottom or sides of the pan before increasing the heat.
5. Boil the jelly
Bring the mixture to a full rolling boil. Cook for approximately 10 to 20 minutes, stirring regularly and removing surface foam if needed.
Use a pan with plenty of extra space because hot jelly can rise quickly. Begin checking the setting point once the temperature approaches 104–105°C (219–221°F).
6. Test the set
Place a spoonful of jelly on a chilled plate and wait for 20 to 30 seconds. Push it gently with your fingertip. If the surface wrinkles and the jelly does not flow like water, it is ready.
If it remains runny, boil for another two or three minutes and test again. Remove the pan from the heat as soon as the jelly reaches the desired set.
7. Fill the jars
Pour the hot apple jelly into clean, hot jars suitable for preserving. Wipe the rims carefully and close the jars with clean, undamaged lids.
For shelf-stable storage, process the jars using a current, tested water-bath canning method suitable for the jar size and your altitude. If you are not using a tested canning process, let the jars cool and store the jelly in the refrigerator.
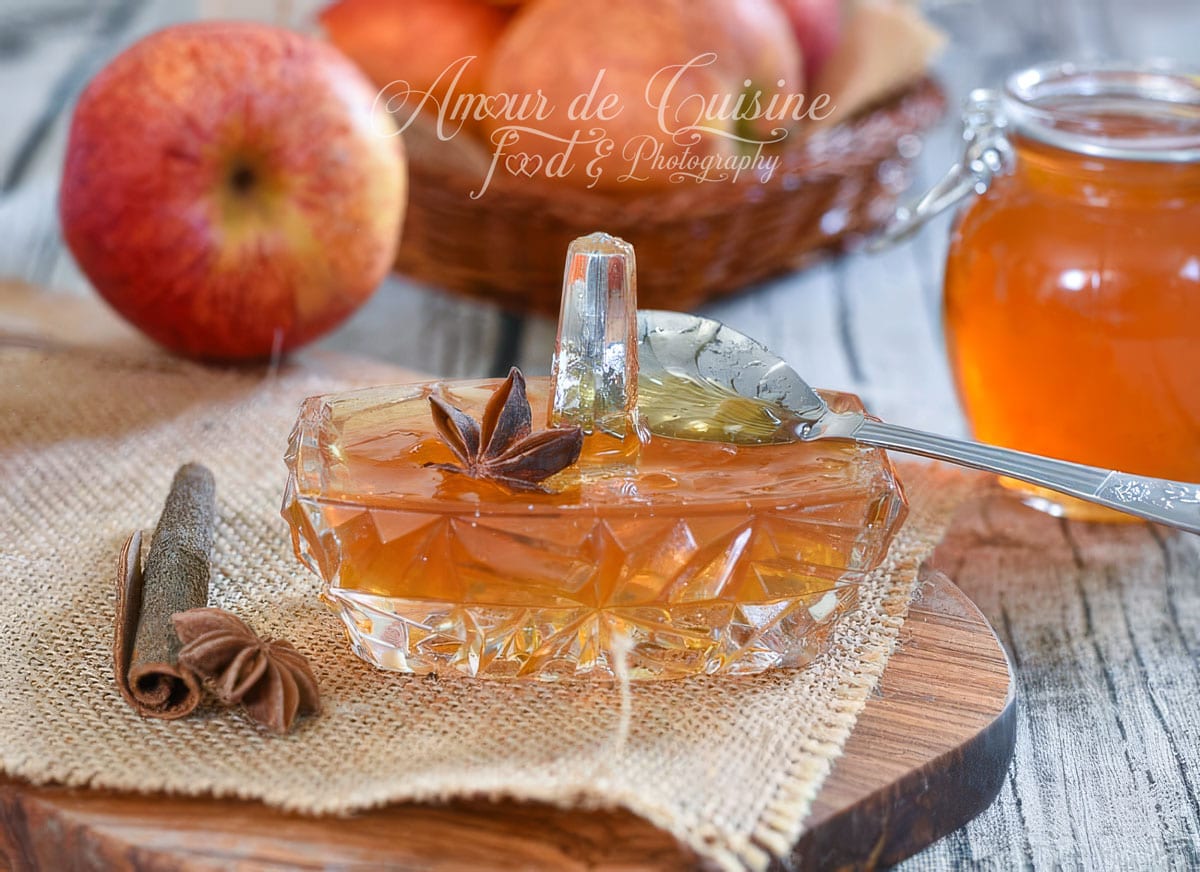
How to tell when apple jelly is ready
Cooking time can change with the size of the batch and the width of the saucepan. For a reliable result, use more than one of these tests:
- Cold-plate test: the chilled jelly should wrinkle when pushed and move slowly when the plate is tilted.
- Thermometer test: the setting point is usually around 104–105°C (219–221°F). Keep the thermometer tip away from the bottom of the pan.
- Spoon test: the jelly should fall from the spoon in a thicker sheet rather than in several thin, separate drops.
Do not wait for the jelly to become thick inside the pan. It will firm up considerably as it cools and may need 24 to 48 hours to reach its final consistency.
Why did my apple jelly not set?
If the jelly remains runny after 48 hours, it may not have cooked for long enough, the apples may have been very ripe and low in pectin, or too much water may have been added.
Return the jelly to a wide saucepan, add a little lemon juice and bring it back to a rolling boil. Cook for a few minutes, then repeat the cold-plate test. Work in small batches so the liquid can evaporate efficiently.
Why is my apple jelly cloudy?
Cloudiness is usually caused by pressing the jelly bag too firmly or allowing apple pulp to pass through the cloth. The jelly is still perfectly usable, but it will not have the same transparent finish.
For clearer results, let the juice drip naturally through fine muslin. If getting the maximum amount of juice matters more than appearance, you can press the pulp gently.
Can I make homemade apple jelly from juice?
Yes, but choose pure, unsweetened apple juice. Cloudy, freshly pressed or minimally filtered juice is more likely to retain natural pectin than highly clarified commercial juice.
Some bottled juices may not contain enough natural pectin to set reliably without additional pectin. For the most dependable no-added-pectin result, I prefer to begin with whole apples so that their skins, cores and seeds are included during cooking.
Flavour variations and substitutions
- Apple and cinnamon jelly: add one small cinnamon stick while the strained juice cooks.
- Vanilla apple jelly: infuse half a split vanilla pod for a softer, rounder flavour.
- Ginger apple jelly: add a thin slice of fresh ginger for gentle warmth.
- Crab apple jelly: replace some of the regular apples with crab apples for extra acidity, pectin and colour.
Remove whole spices before filling the jars. Avoid using too many at once, as the flavour of apple jelly is naturally delicate.
Ways to use homemade apple jelly
- Spread it over toast, scones, muffins, pancakes or waffles.
- Warm it and brush it over apple tarts or fresh fruit pastries.
- Use it as a filling for sponge cakes, sandwich cookies or Swiss rolls.
- Serve it with mature Cheddar or goat’s cheese.
- Add a spoonful to sauces or glazes for pork, chicken or duck.
- Stir it into yogurt, porridge or overnight oats.
To make a quick fruit-tart glaze, warm one or two tablespoons of jelly with a few drops of water. Brush it over the cooled fruit while it is still fluid.
Storage and make-ahead tips
Label the jars with the preparation date. Properly processed and sealed jars should be stored in a cool, dark and dry place for the period recommended by the canning method used.
After opening, refrigerate the apple jelly and always use a clean spoon. Discard the contents if the lid bulges or leaks, the seal fails, or you notice mould, fermentation, an unusual smell or any other sign of spoilage.
Frequently asked questions
Do I need to peel or core the apples?
No. Keep the skins, cores and seeds because they contain natural pectin. These solids will be removed when the cooked fruit is strained.
Can I make apple jelly with less sugar?
Do not simply remove most of the sugar from this traditional recipe. Sugar contributes to the set and keeping quality. For a reduced-sugar version, use pectin made specifically for low-sugar preserves and follow its tested instructions.
What is the difference between apple jelly and apple jam?
Apple jelly is made from strained juice, giving it a smooth, translucent appearance. Jam contains the fruit pulp and has a thicker, more textured consistency. Try my homemade apple jam recipe if you prefer a spread containing apple pieces or purée.
Can apple jelly be frozen?
Yes. Freeze it in airtight, freezer-safe containers with room for expansion. Its consistency may become slightly softer after thawing. Defrost it in the refrigerator and keep it chilled afterwards.
Can I double this recipe?
Separate batches are more reliable. A very large amount of juice takes longer to evaporate and makes it more difficult to judge the setting point accurately.
More apple and preserve recipes
- Homemade apple marmalade
- Easy homemade apple jam
- Homemade apple butter
- French Normandy apple tart
- Apple pâte de fruit
- Homemade quince paste
Easy Homemade Apple Jelly Recipe
- Total Time: 2 hours 5 minutes
- Yield: 2 to 3 jars of 250 ml 1x
Description
Make clear, golden homemade apple jelly using fresh apples and their natural pectin. This traditional recipe requires no powdered pectin and includes reliable setting tests for a smooth, spreadable result.
Ingredients
- 1 kg (2.2 lb) organic or unwaxed apples, unpeeled
- 1 lemon
- 300 ml (1¼ cups) water
- Granulated sugar, equal in weight to the strained apple juice
Instructions
-
Place a small plate in the freezer before beginning. You will use it later to test whether the apple jelly has reached its setting point.
-
Prepare two or three clean 250 ml preserving jars. Check that the jars have no cracks or chips and that the lids are clean and undamaged.
-
Wash the apples and lemon thoroughly under cold running water. The apples will be cooked with their skins, so organic or unwaxed fruit is preferable.
-
Cut away any bruised or damaged parts. Discard any apple that shows signs of mould or decay.
-
Cut the apples into quarters or large chunks. Do not peel or core them: the skins, cores and seeds contain much of the natural pectin that helps the jelly set.
-
Cut the lemon into several pieces. Alternatively, squeeze out its juice and add it to the saucepan with the apples.
-
Transfer the apples and lemon to a large, heavy-based saucepan. Pour in 300 ml of water.
-
Cover the pan and bring the liquid gently to a simmer over medium-low heat. Once it begins simmering, reduce the heat.
-
Cook the apples gently for 45 minutes to 1 hour, stirring occasionally to prevent them from catching on the bottom of the pan.
-
Check the fruit near the end of cooking. The apples should be extremely soft and should collapse easily when pressed with a wooden spoon.
-
Line a sieve or colander with a jelly bag, fine muslin or a clean, thin kitchen cloth. Place it securely over a large heatproof bowl.
-
Carefully transfer the cooked apples and all their liquid into the lined sieve. Leave the juice to drip through for at least 30 minutes.
-
For the clearest apple jelly, allow the juice to drain naturally without squeezing the cloth. You may press it gently if you prefer a higher yield and do not mind a slightly cloudier result.
-
Weigh the strained apple juice using kitchen scales. Measure the same weight of granulated sugar. For example, use 650 g of sugar if you collect 650 g of juice.
-
Pour the juice into a clean, wide saucepan and add the measured sugar. Warm gently, stirring regularly, until all the sugar crystals have completely dissolved.
-
Increase the heat and bring the mixture to a full rolling boil. Cook for approximately 10 to 20 minutes, stirring regularly and watching carefully because hot jelly can rise quickly.
-
Skim away any foam that gathers on the surface if you want a particularly clear, polished finish.
-
Begin testing when the jelly reaches approximately 104–105°C (219–221°F). Keep the thermometer away from the base of the saucepan for an accurate reading.
-
Remove the chilled plate from the freezer and spoon a small amount of jelly onto it. Wait for 20 to 30 seconds, then push the jelly gently with your fingertip.
-
The apple jelly is ready when its surface wrinkles slightly and it moves slowly rather than running like water. If it is still too fluid, boil for another two or three minutes and test again.
-
Remove the pan from the heat as soon as the jelly reaches its setting point. Avoid overcooking, as the jelly will continue to firm up as it cools.
-
Carefully pour the hot jelly into the prepared jars, preferably using a preserving funnel. Leave the recommended headspace for your jars and wipe the rims clean.
-
Apply the lids according to the jar manufacturer’s instructions. For shelf-stable storage, process the jars using a current, tested water-bath canning method suitable for the jar size and your altitude.
-
If you are not following a tested canning process, allow the jars to cool before transferring them to the refrigerator.
-
Leave the apple jelly undisturbed for 24 to 48 hours before assessing its final consistency. Naturally set jelly may take time to become fully firm.
- Prep Time: 20 min
- Straining time: 30 min
- Cook Time: 1 hour 15 min
Nutrition
- Serving Size: 10 ml
- Calories: 25 kcal
by Soulef