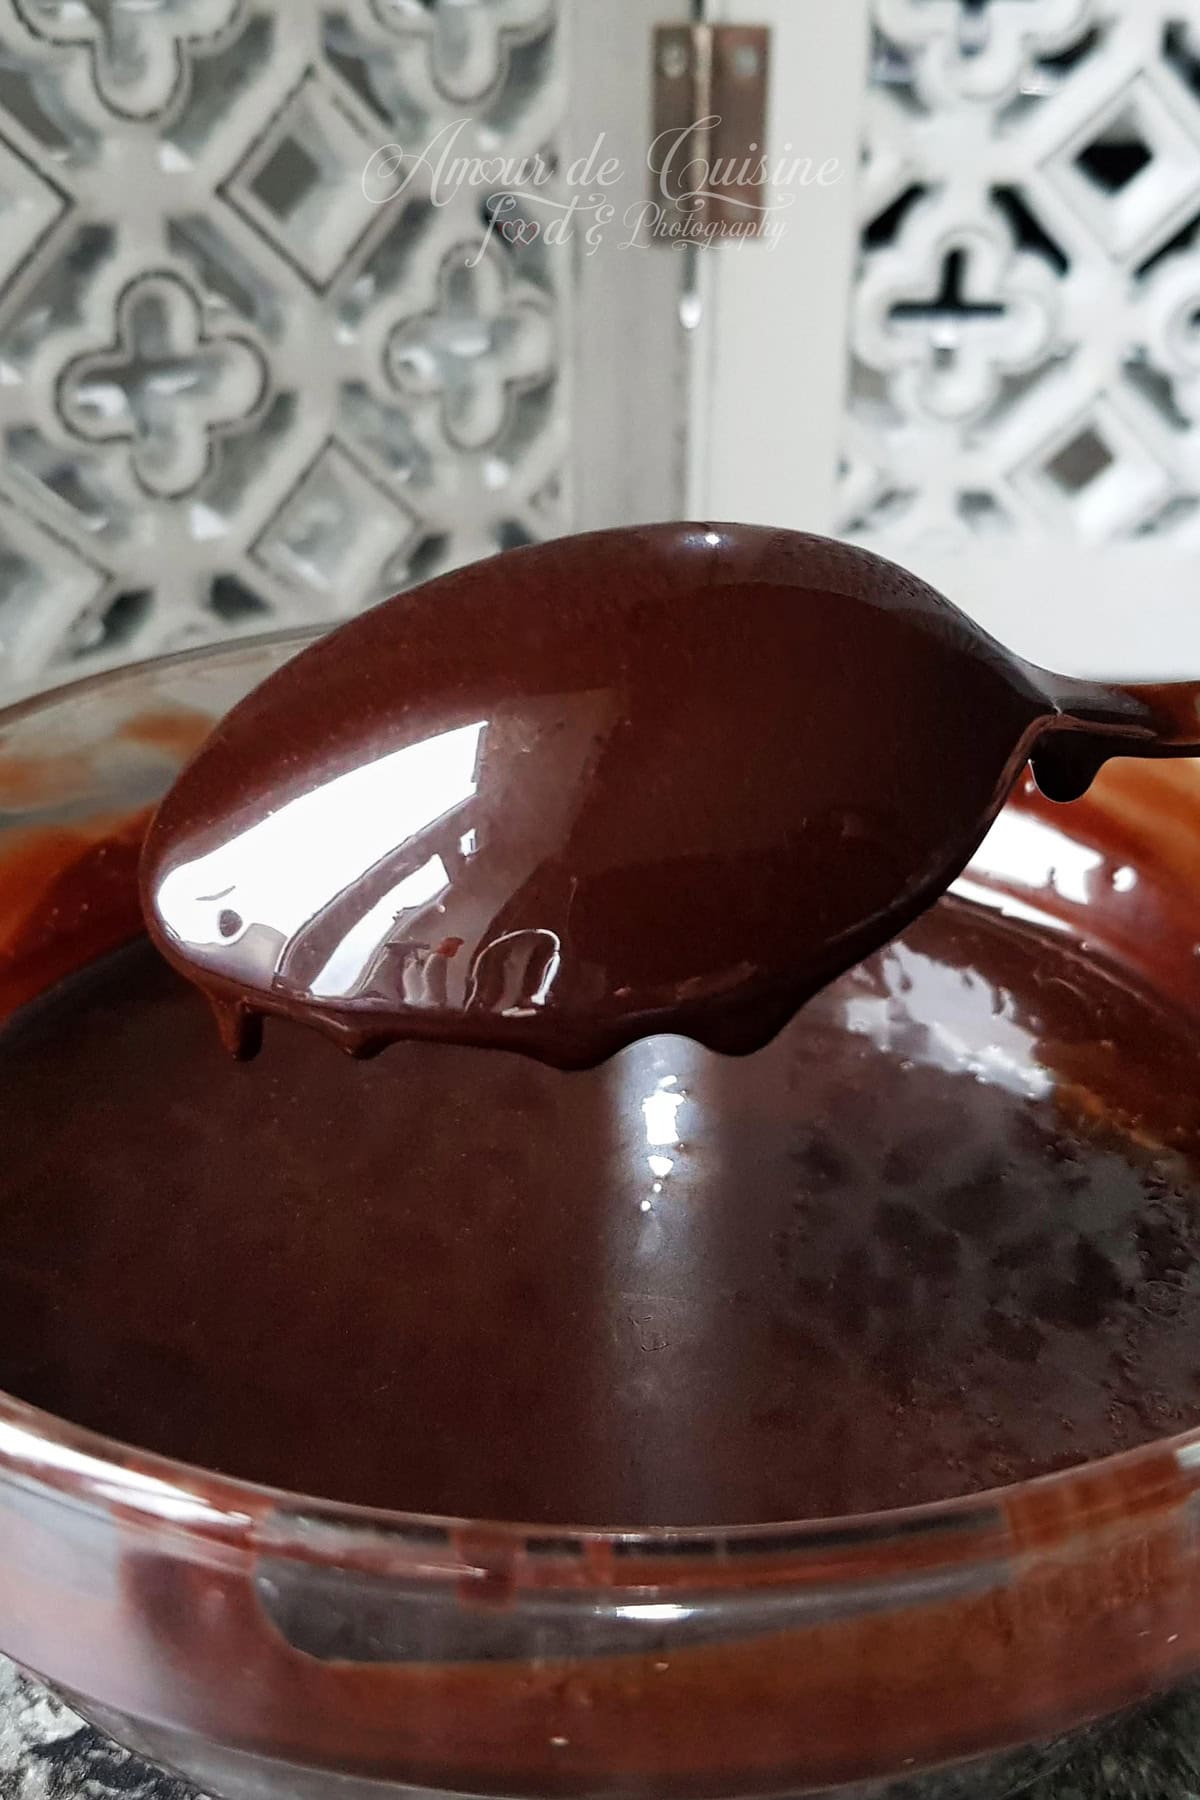
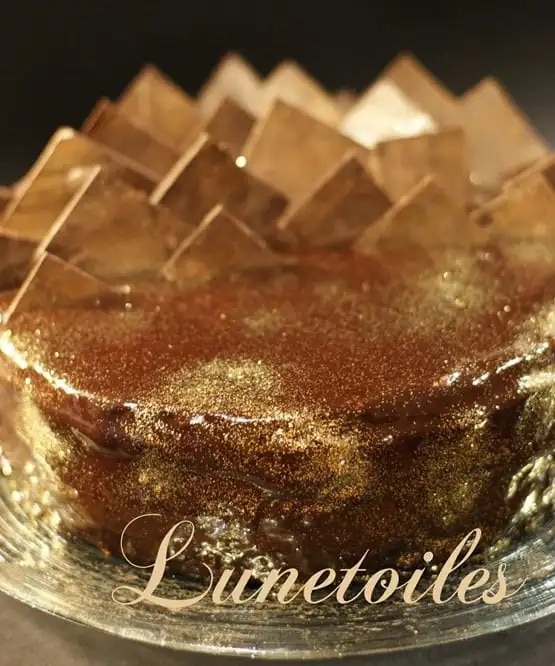
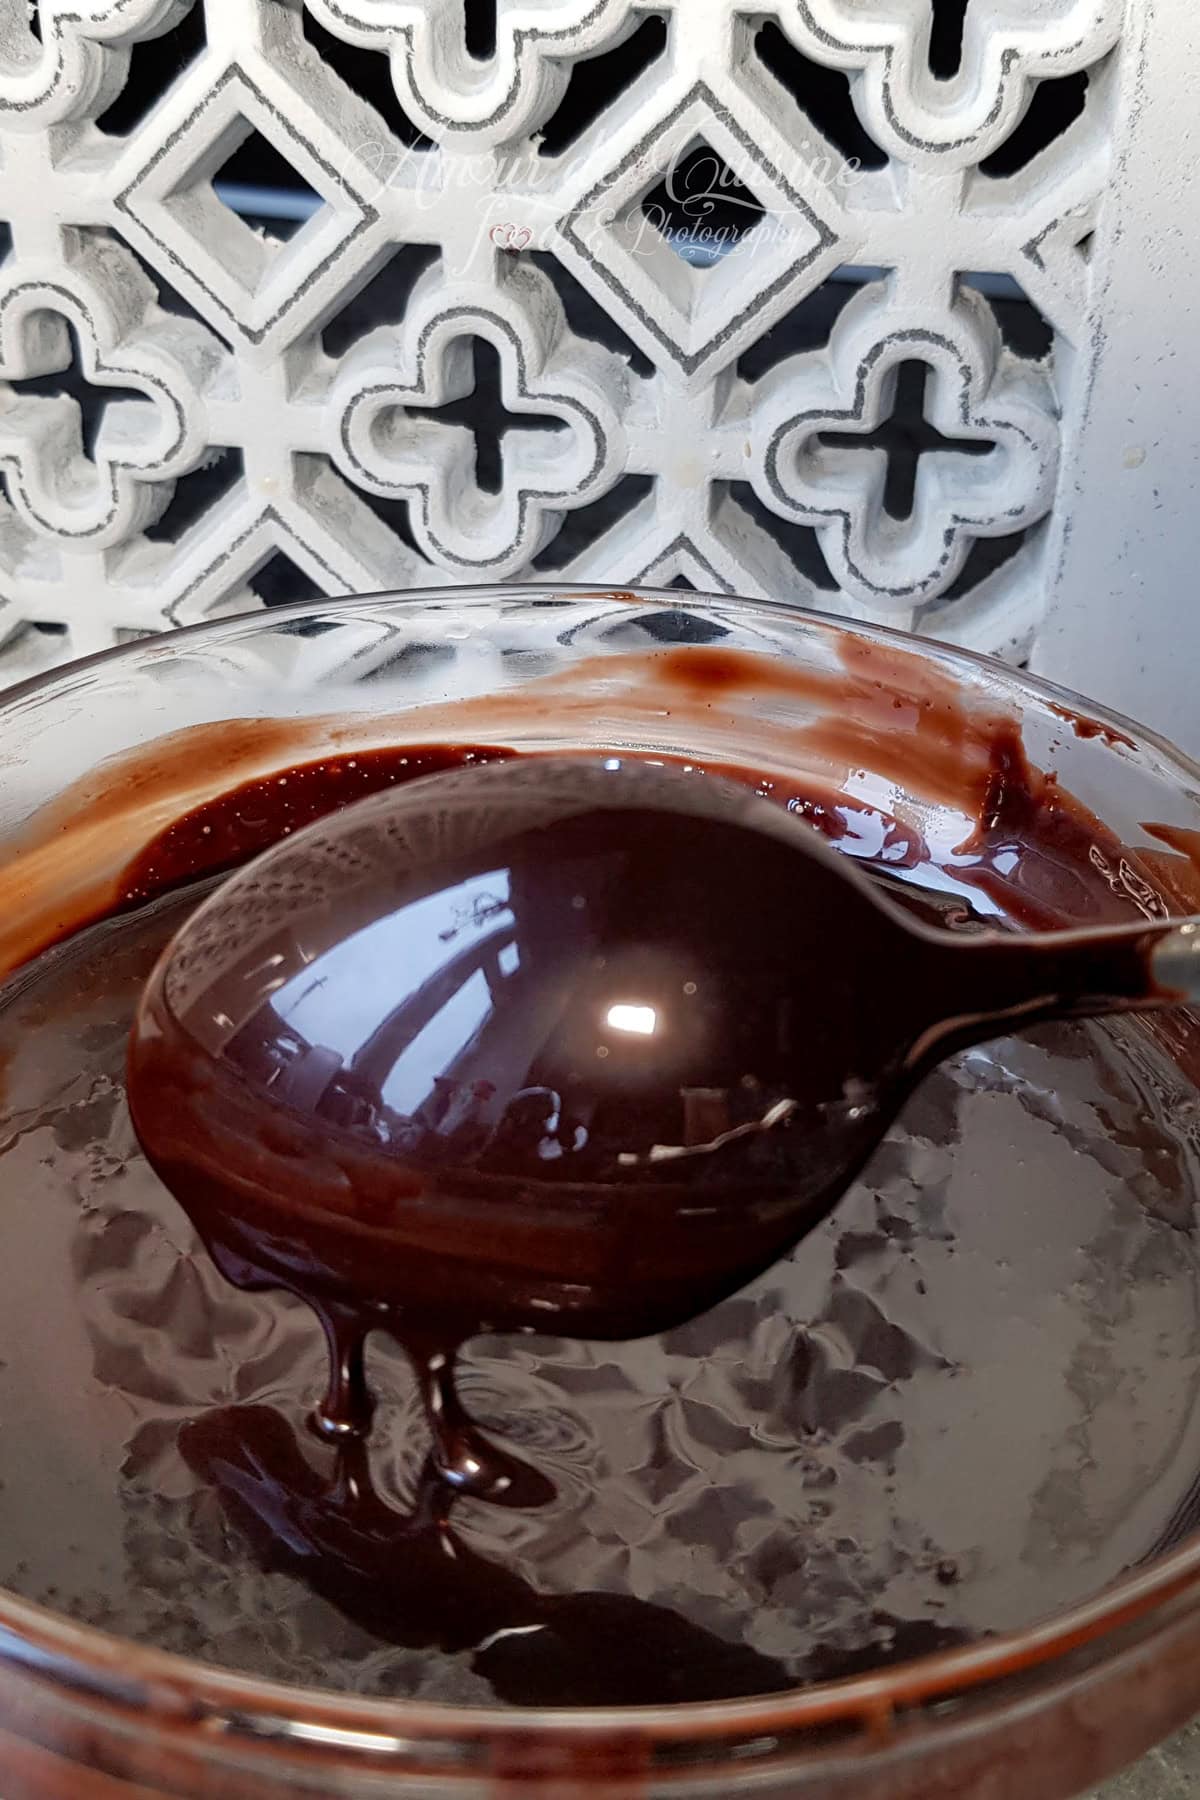
Ultra-Glossy Cocoa Mirror Glaze Without Chocolate or Glucose Syrup
This is the cocoa mirror glaze I reach for when I want that wow-shine finish on a yule log or entremets, without using chocolate or glucose syrup.
It’s simple, reliable, and the result is beautifully glossy… as long as you glaze the right kind of surface (more on that below).
Cocoa Mirror Glaze: For Coating Yule Logs and Entremets
Here’s my go-to ultra-glossy cocoa mirror glaze, made without chocolate or glucose syrup.
It’s the recipe I keep in my back pocket whenever a yule log or entremets needs that clean, professional “wow” finish, without turning it into an all-day project.
I photographed it step-by-step in my kitchen (on my phone) while making my hazelnut-clementine yule log, and after so many requests, it deserved its own post with clearer details and tips.
The shine comes from a simple balance of sugar, cocoa, cream, and gelatin, which creates a smooth glaze that pours beautifully and sets fast on a very cold dessert.
I’ve used this formula for years, especially in my Royal chocolate/Trianon-style cakes.
One key lesson: don’t pour it over sponge cake. For a true mirror effect, glaze a perfectly smooth base (mousse, bavarois, or a neatly coated log) at the right temperature.
The secret: preparing the perfect surface for mirror glaze
Mirror glaze doesn’t magically hide texture, it highlights everything. For a clean, reflective finish, the support needs to be:
- Very smooth : Best options: mousse, bavarois, buttercream-coated logs, perfectly smoothed creams.
- Very cold (ideally frozen) : Chill thoroughly, or better, freeze the dessert so the glaze sets instantly and stays shiny.
A simple routine that works every time:
- Coat the log with a thin, ultra-smooth layer of buttercream (plain or chocolate).
- Smooth carefully, the smoother the surface, the stronger the mirror effect.
- Chill until extremely cold, ideally freeze.
- Pour the glaze at 30°C (86°F).
- Set on a rack, let it drip… and enjoy the magic.

Ingredients for a Glossy Cocoa Mirror Glaze
- 60 ml water : Forms the base of your syrup with sugar, no need to start with hot water.
- 160 g granulated sugar : Essential for shine and structure. It’s not just sweetness: sugar helps the glaze set with a smooth, glossy finish.
- 10 g gelatin sheets : Gives the glaze its mirror look and flexible set. Soak in very cold water until soft, then melt into the warm mixture (never boil gelatin).
- 60 g unsweetened cocoa powder : Brings colour and flavour. Sift it to prevent lumps and keep the glaze silky.
- 120 g heavy cream : Adds richness and rounds out the cocoa. A higher fat cream (around 30–35%) helps the glaze feel smoother and look more luxurious.
Step-by-step instructions (easy, no-fuss)
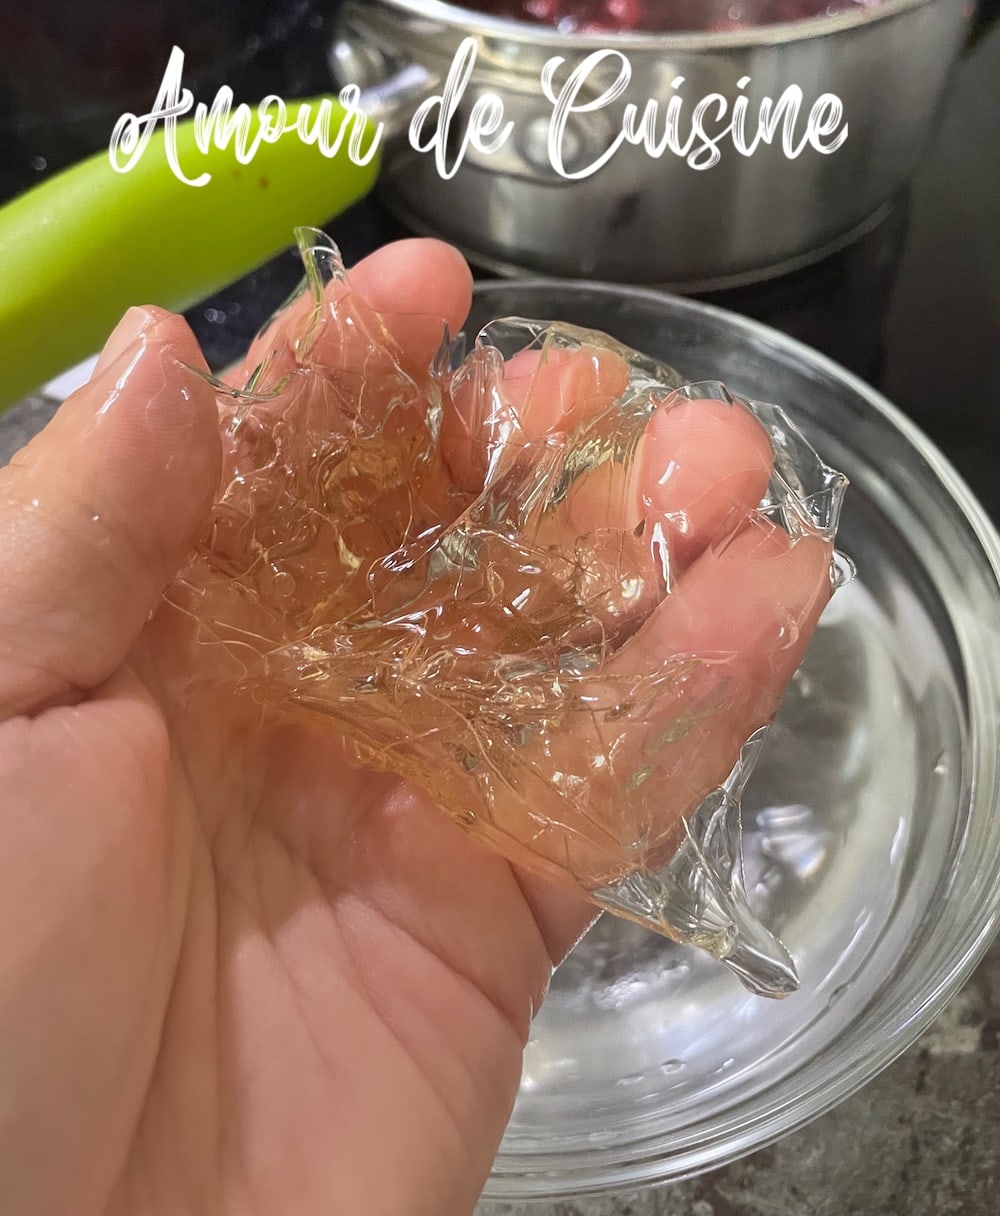
1) Soak the gelatin
- Place gelatin sheets in a bowl of very cold water for 15–20 minutes, until fully softened.
- Drain and gently squeeze out excess water.
2) Make the syrup (120°C / 248°F)
- Add water + sugar to a saucepan.
- Heat over medium heat until the sugar is fully dissolved, then continue cooking to 120°C (248°F) using a thermometer.
3) Add cocoa (off the heat)
- Remove the pan from the heat.
- Add sifted cocoa powder and stir until smooth and fully combined.
- Transfer to a mixing bowl for easier mixing and more even cooling.
4) Heat the cream and add it in 3 additions
- Bring the cream just to a simmer (near boiling).
- Pour it into the cocoa mixture in three parts, stirring well each time to keep it glossy and lump-free.
5) Melt in the gelatin
- While the mixture is still hot, add the squeezed gelatin.
- Stir until completely dissolved—no visible pieces.
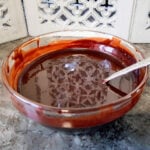
6) Mix gently (avoid bubbles)
- Stir slowly with a spatula rather than whisking.
- If using a stick blender, keep the head fully submerged and blend gently to avoid aerating the glaze.
7) Cool to 30°C (86°F)
- Let the glaze cool, stirring occasionally, until it reaches 30°C.
- This is the sweet spot: pourable enough to coat, cool enough to set quickly on a frozen dessert.
8) Glaze your dessert
- Place your dessert on a wire rack over a tray.
- Pour the glaze in one smooth pass and let the excess drip off.
- Move the glazed dessert carefully to a board/plate and chill.

Make-ahead, storage, reheating (and how to keep it bubble-free)
You can make this glaze 1 day ahead, or even up to 1 week in advance.
– To store (up to 7 days):
- Pour into a clean container.
- Cover directly on the surface with cling film (touching the glaze) to prevent a skin.
- Refrigerate.
– On the day (reheat gently):
- Warm slowly over a bain-marie (double boiler), no rushing.
- Stir until fully melted and smooth.
- If needed, strain through a fine sieve for the silkiest result.
– Bubble warning (very important):
- Avoid whisking or aggressive blending.
- Air bubbles can get trapped, then pop as the glaze sets, leaving tiny holes.
- If bubbles appear: strain once or twice through a very fine sieve.

Video: How to Make Mirror Glaze Without Chocolate
In the video, you’ll see exactly how to make this easy, budget-friendly mirror glaze, with no added chocolate or glucose syrup.
I strongly recommend using a stick blender (immersion blender), as it helps keep the glaze smooth without creating too many air bubbles.
Avoiding bubbles is really important for a clean, glossy finish!
FAQ
– How big a yule log does this cover?
- About 30 cm (12 inches) for the base recipe.
- For larger/taller logs or a thicker coat, go for 1.5x.
– Can I glaze the day before?
- Best glazed about 6 hours before serving.
- Fridge humidity can dull the shine. If you must glaze earlier, store in a closed box to reduce condensation.
– Can I reduce the sugar?
- Sugar affects shine, texture, and set.
- You can test a small reduction, but too low can make the glaze dull, thinner, or less stable.
– Can I change the colour?
- For bright colours, a white chocolate mirror glaze + colouring works best.
- On a cocoa base, colours will naturally look darker/more muted.
– Can I replace gelatin with agar-agar?
- I haven’t tested it for this glaze, so I can’t give a reliable dosage.
- If you try it, share your ratio and results (texture and pour temperature), it helps everyone.
– Can I freeze a dessert that’s already glazed?
- You can, but the shine may change due to condensation during thawing.
- Best workflow: freeze dessert → glaze → thaw slowly in the fridge in a closed container.
Other recipes to decorate your Desserts
- Vanilla Buttercream Frosting : Egg-Free
- Swiss Meringue Buttercream recipe
- Mascarpone Whipped Cream Frosting easy recipe
Ultra-Glossy Cocoa Mirror Glaze recipe
- Total Time: 1 hour 15 minutes
- Yield: 400 g 1x
Description
This is the cocoa mirror glaze I reach for when I want that wow-shine finish on a yule log or entremets, without using chocolate or glucose syrup. It’s simple, reliable, and the result is beautifully glossy… as long as you glaze the right kind of surface (more on that below).
Ingredients
- 60 ml water
- 160 g granulated sugar
- 10 g gelatin sheets
- 60 g unsweetened cocoa powder
- 120 g heavy cream
Instructions
- Place gelatin sheets in a bowl of very cold water for 15–20 minutes, until fully softened.
- Drain and gently squeeze out excess water.
- Add water + sugar to a saucepan.
- Heat over medium heat until the sugar is fully dissolved, then continue cooking to 120°C (248°F) using a thermometer.
- Remove the pan from the heat.
- Add sifted cocoa powder and stir until smooth and fully combined.
- Transfer to a mixing bowl for easier mixing and more even cooling.
- Bring the cream just to a simmer (near boiling).
- Pour it into the cocoa mixture in three parts, stirring well each time to keep it glossy and lump-free.
- While the mixture is still hot, add the squeezed gelatin.
- Stir until completely dissolved, no visible pieces.
- Stir slowly with a spatula rather than whisking.
- If using a stick blender, keep the head fully submerged and blend gently to avoid aerating the glaze.
- Let the glaze cool, stirring occasionally, until it reaches 30°C.
- This is the sweet spot: pourable enough to coat, cool enough to set quickly on a frozen dessert.
- Place your dessert on a wire rack over a tray.
- Pour the glaze in one smooth pass and let the excess drip off.
- Move the glazed dessert carefully to a board/plate and chill.
- Prep Time: 15 min
- resting time: 45 min
- Cook Time: 15 min
- Category: basic recipe, glazing
- Cuisine: easy cuisine
Nutrition
- Serving Size: 100 g
- Calories: 300 kcal