
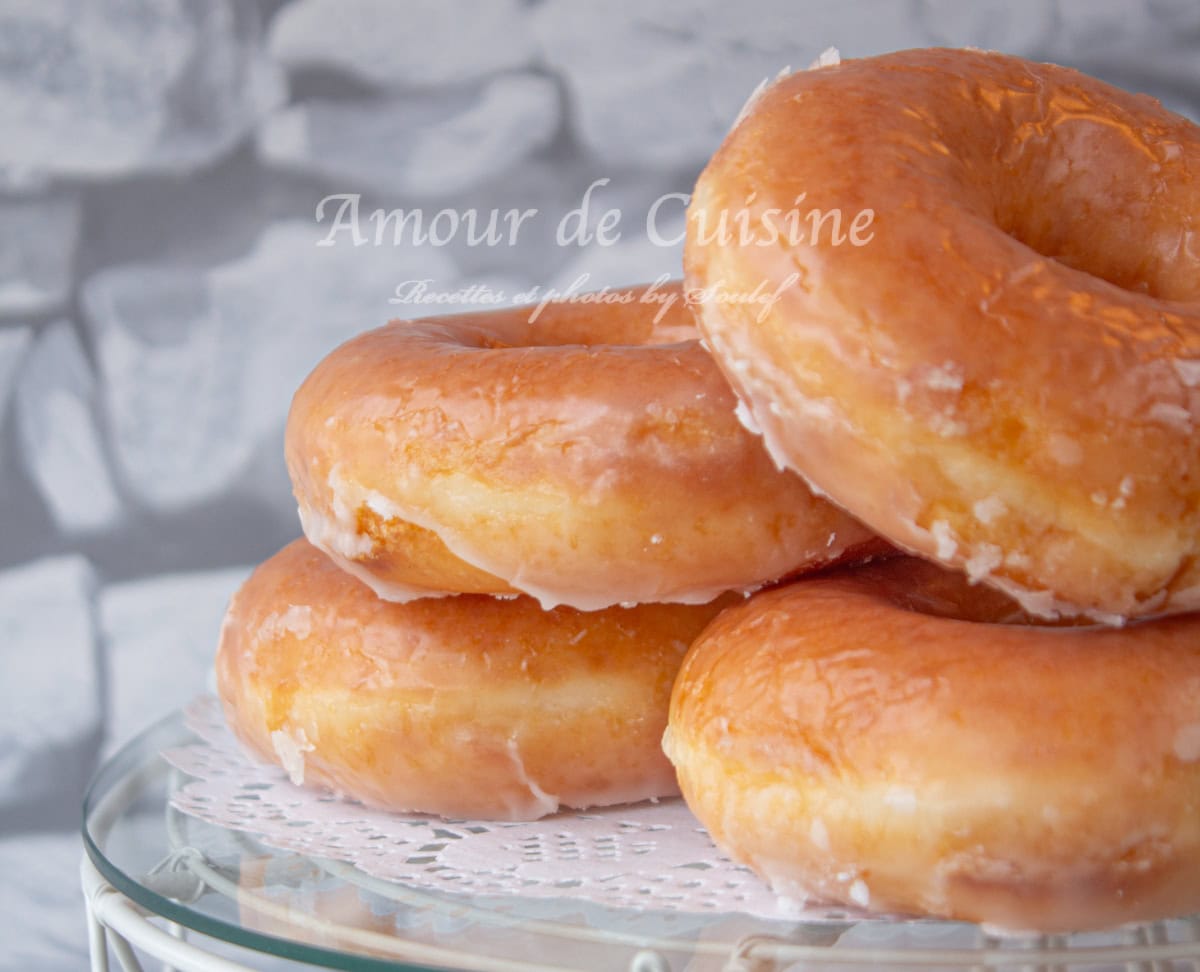
Homemade Soft & Delicious Donuts : Easy Recipe
My kids’ absolute favourite treat is sinking their teeth into a soft, tender donut.
There’s something so satisfying about seeing them enjoy homemade donuts, especially when I know exactly what goes into them.
After testing many different recipes, this one stands out above the rest : easy, foolproof, and perfect for sharing a cosy, delightful snack with your family.
Foolproof Donut Recipe for Soft, Bakery-Style Donuts at Home
If you’re looking for a reliable homemade donut recipe, this one is truly a keeper.
I make it often whenever I have a bit of free time, and it never disappoints.
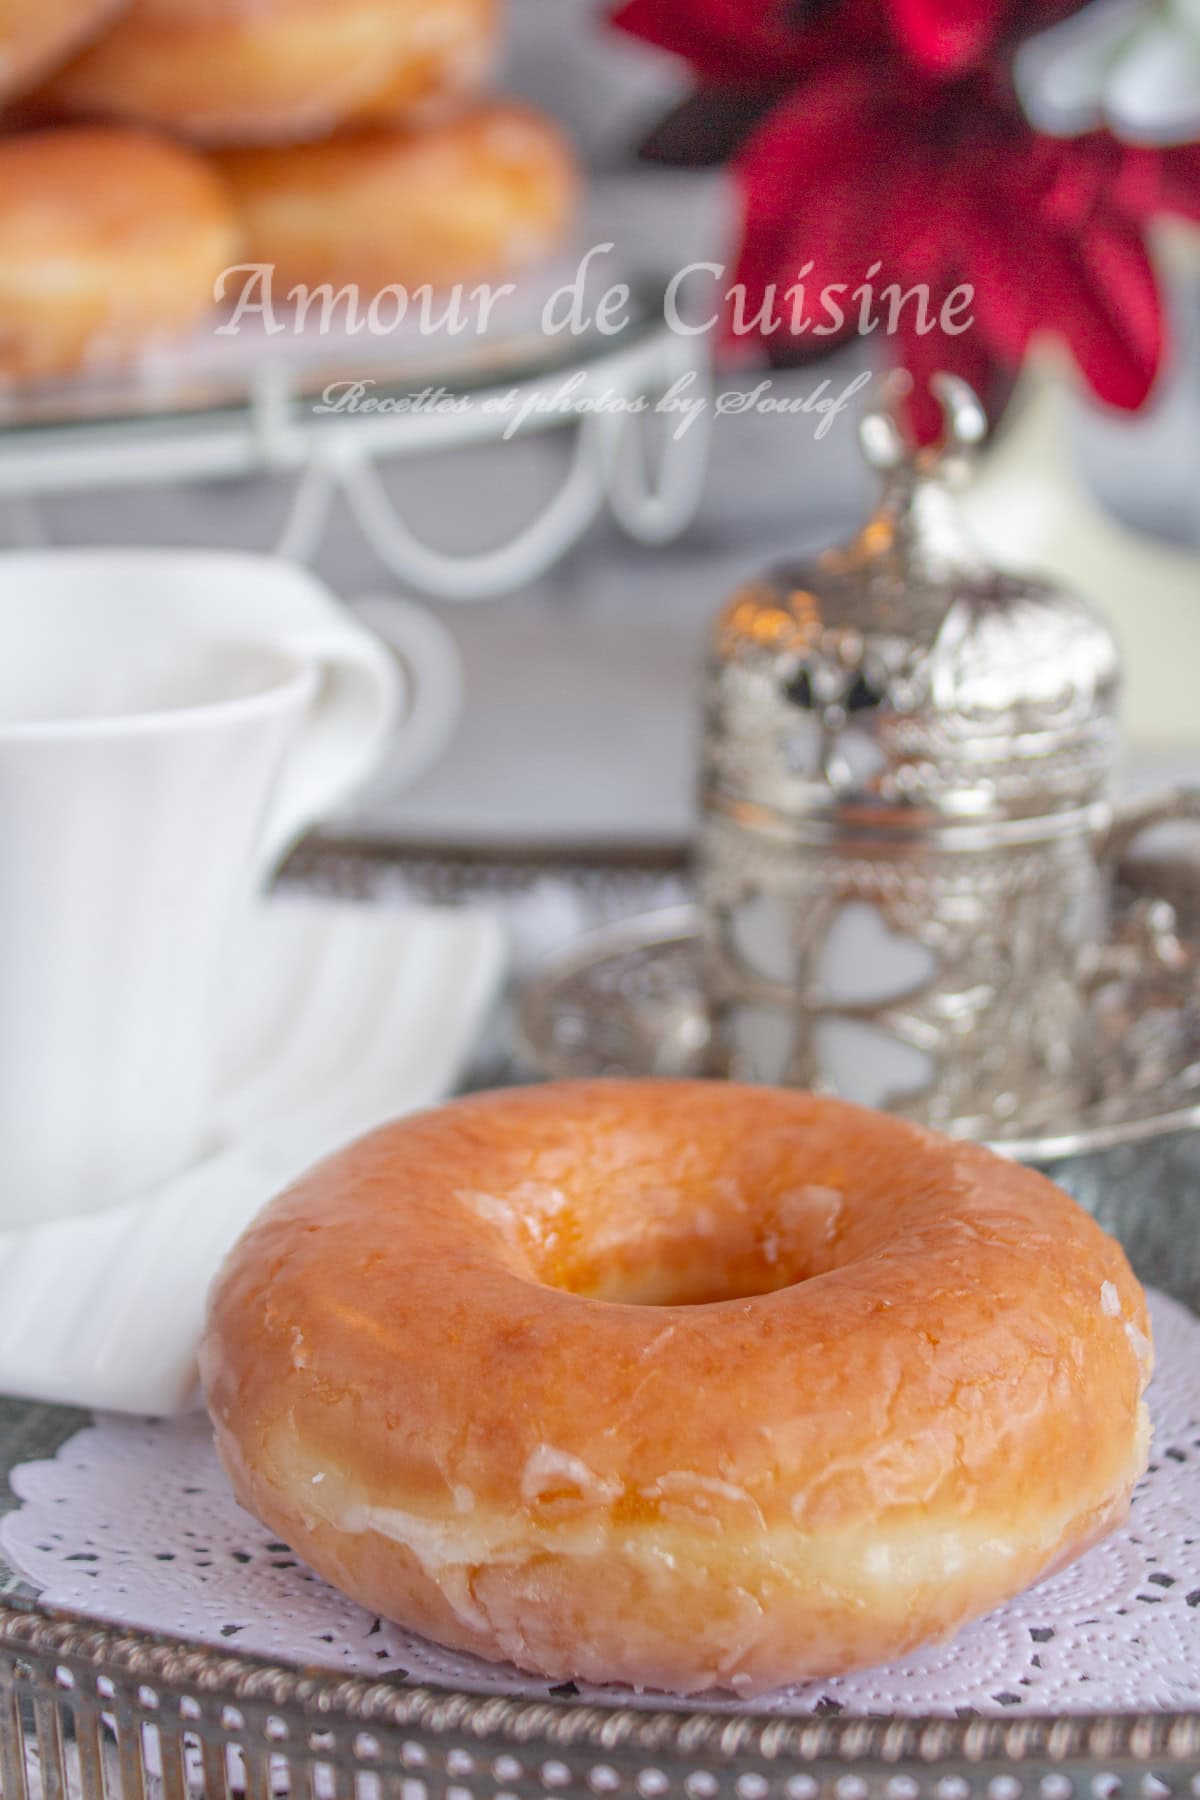
The donuts come out incredibly soft and tender, with a texture that stays fresh for up to two days, perfect when you want to prepare them ahead or enjoy them slowly.
What I love most about this recipe is how approachable it is.
Even if you’re not confident in your baking skills, you’ll be surprised at how effortlessly the dough comes together.
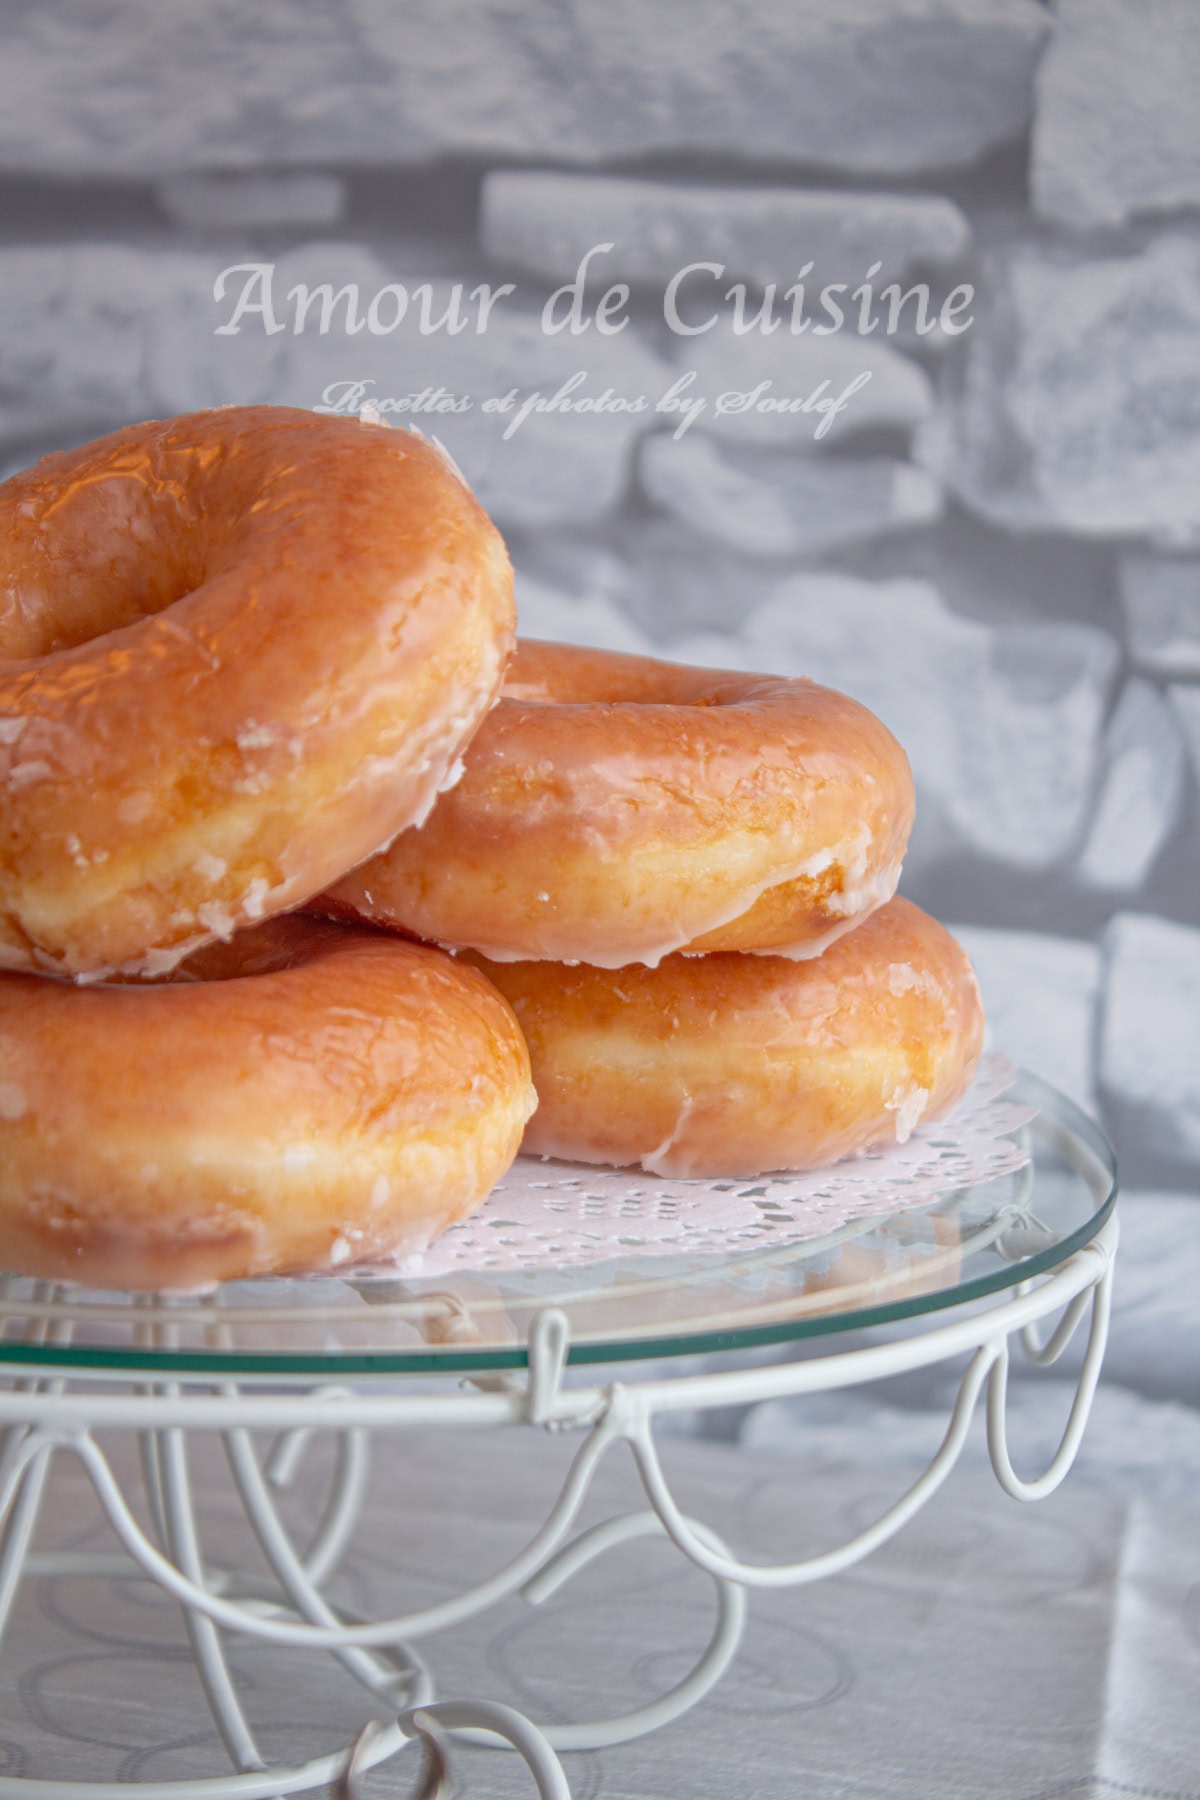
The result is a batch of beautifully light donuts that look and taste like they came from a bakery.
Friends and family always think I’ve spent hours in the kitchen.
The original idea came from an old favourite forum, “Cuisine Testée,” but after testing and adapting it over time, this version has become my go-to.
It’s now a staple in our home and a guaranteed crowd-pleaser.
Essential Ingredients for Soft and Fluffy Homemade Donuts
Here’s everything you need to achieve perfectly tender, bakery-style donuts at home. Each ingredient plays a key role in creating a light, soft texture and a rich, comforting flavour.
- 2 room-temperature eggs : Eggs add richness, structure, and moisture. Bringing them to room temperature helps them blend smoothly into the dough and supports proper yeast activation.
- 1 packet dry active yeast : Use dry yeast meant for bread dough, it rises more reliably and creates that airy, fluffy interior donuts are known for.
- 1 teaspoon vanilla extract : A touch of vanilla enhances the overall flavour and adds a warm, sweet aroma to the dough.
- 60 g granulated sugar : Sugar sweetens the donuts and also helps feed the yeast, contributing to a better rise.
- A pinch of salt : Essential for balancing flavours, just like in brioche, salt prevents a flat or overly sweet taste.
- 60 g unsalted butter : Butter enriches the dough and gives the donuts their soft, tender crumb.
- 250 ml warm milk : Warm milk activates the yeast and creates a softer, more supple dough.
- About 500 g flour : Opt for a brioche-style or high-quality flour for extra softness and a beautifully fluffy texture.
Step-by-Step Instructions for Perfect Homemade Donuts
Follow these clear, detailed steps to achieve soft, airy donuts every time. The process is simple, beginner-friendly, and delivers reliable results.
- Melt the butter with the milk : Warm them together on the stove or in the microwave until the butter dissolves completely.
- Let the mixture cool slightly : It should feel warm to the touch, never hot, excess heat can damage the yeast.
- Transfer to a mixing bowl : Pour the warm butter–milk mixture into a large bowl.
- Add the flavourings and yeast : Mix in the vanilla extract, sugar, eggs, salt, and dry yeast.
- Whisk to combine : Use a hand whisk to blend everything into a smooth, unified mixture.
- Incorporate the flour gradually : Start mixing with the whisk, then switch to your hands or a stand mixer fitted with dough hooks as the dough thickens.
- Knead until soft and elastic : The dough should be smooth, pliable, and just slightly tacky but not sticky.
- Let the dough rise : Cover the bowl with cling film and place it in a warm, turned-off oven. Allow it to rise for 1 to 1½ hours, or until doubled in volume.
- Punch down the dough : Gently deflate it to remove trapped air.
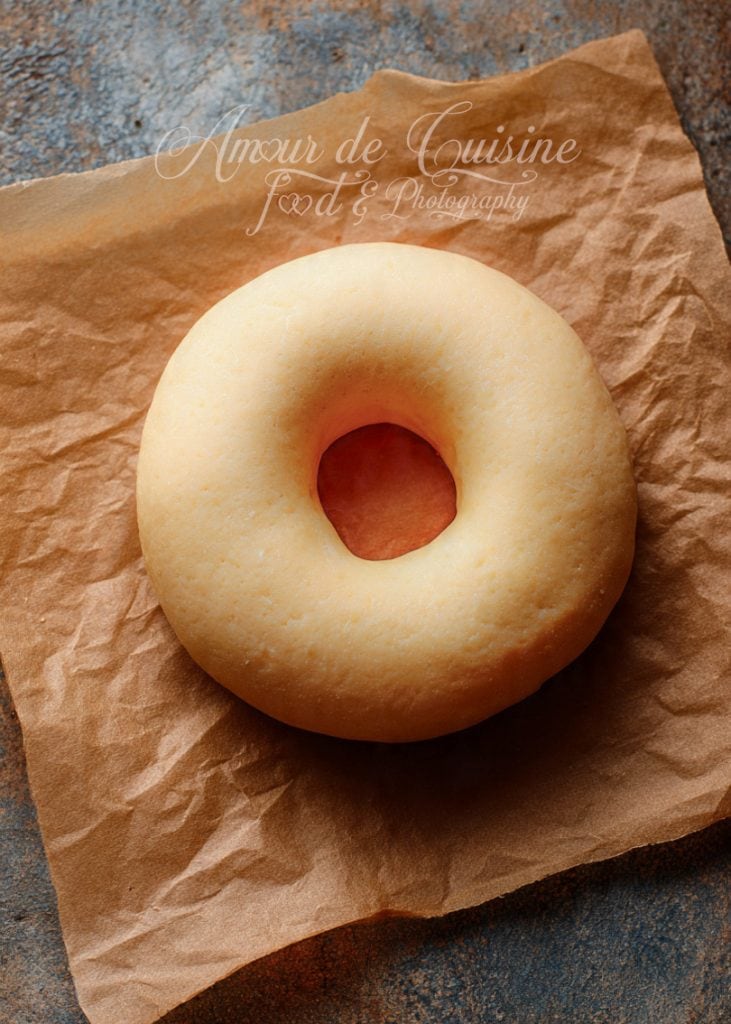
- Roll out the dough : On a lightly floured surface, roll it to a thickness of about 1 to 1.5 cm.
- Cut the donut shapes : Use a donut cutter or a wide glass (around 10 cm), and use a smaller cutter to create the centre hole.
- Prepare for the second rise : Arrange the donuts on a floured surface, lightly dust the tops, and cover them with a cloth or cling film.
- Let rise again for 30 minutes : This step ensures extra softness and a lighter texture when frying.
- Heat the oil and fry : Fry the donuts for a short time on each side until golden, flipping once for even cooking.
- Finish with your favourite topping : Glaze them with chocolate, sugar icing, or serve warm with salted butter caramel for a decadent touch.
- Optional: Bake instead of frying : For a lighter version, you can bake the donuts, they come out surprisingly soft, airy, and delicious.

How to Fry Donuts Easily Using Baking Paper Squares
Handling risen donut dough can be tricky, especially once it becomes light and airy. To keep their shape perfect and make the transfer effortless, try this simple method:
- Prepare small squares of baking paper : Cut parchment into squares slightly larger than each donut, this gives them support during the second rise and makes moving them much easier.
- Place each donut on a square : After cutting the dough, set every donut directly onto its own piece of baking paper. Leave them to rise this way for 30 minutes. The paper prevents the dough from sticking to your work surface or losing its shape when you lift it.
- Heat oil in a large pan : For the best flavour and texture, fry the donuts in a wide, shallow pan rather than a deep fryer. A large pan allows you to control the temperature better and helps the donuts cook evenly without becoming greasy.
- Transfer donuts using the paper : When the oil is hot, pick up each donut by grabbing the corners of the baking paper. Gently lower the donut into the oil paper-side down. After a few seconds, the paper will loosen, simply remove it with tongs.
- Fry until golden : Cook the donuts on both sides until they puff up and turn evenly golden. A large pan lets you watch them closely and flip them at the perfect moment.
This method keeps the donuts perfectly round, avoids deflating the dough, and makes frying much less stressful, especially for beginners.
Glazing & Topping Ideas for Homemade Donuts
Once your donuts are warm and ready, the fun truly begins. Glazing and decorating them adds flavour, colour, and personality, turning simple donuts into irresistible treats. Here are several delicious ideas you can try:
– Cinnamon Sugar Coating
For a lighter, classic finish, roll warm donuts in a mixture of sugar and ground cinnamon. This creates a delicate crunch and a comforting flavour without the heaviness of a full glaze.
– Simple Icing Sugar Dusting
If you prefer a minimalist topping, a light dusting of powdered sugar is all you need. It enhances the sweetness while keeping the donut airy and not overly rich.
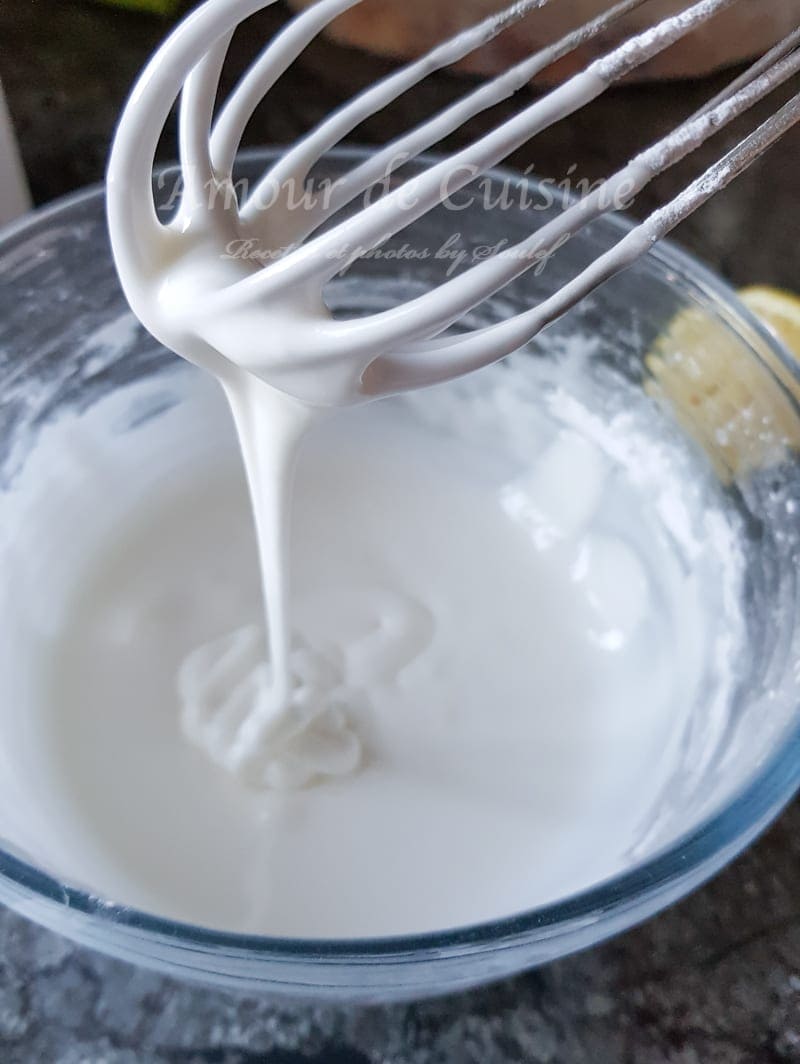
– Bright Royal Icing
If you want something fun and vibrant, mix a simple icing with sugar, milk, and a touch of food colouring. Soft pink, pastel blue, or lemon yellow look beautiful on donuts, especially for parties, birthdays, or kids’ snacks.
– Salted Caramel Dip
A small bowl of warm salted butter caramel on the side makes a luxurious dipping option. It’s especially delicious if you enjoy a deeper, buttery sweetness.
These ideas are easy to prepare and allow you to customise your donuts exactly the way you like, whether you’re in the mood for something rich and indulgent or light and simple.
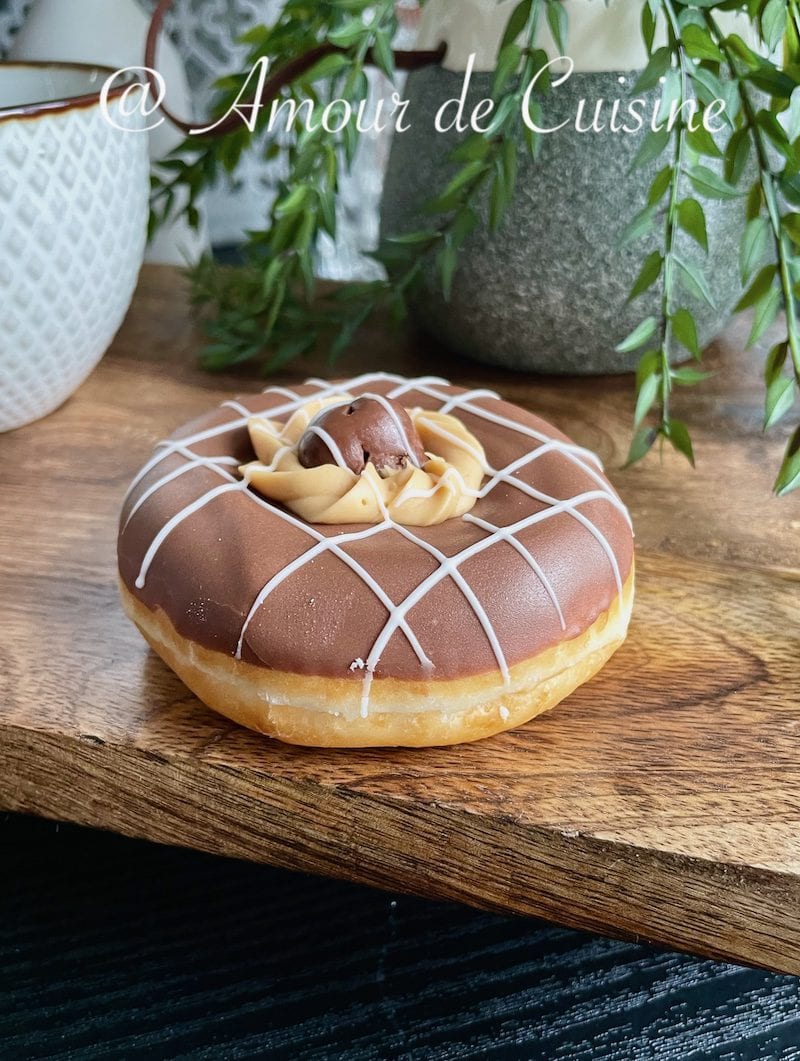
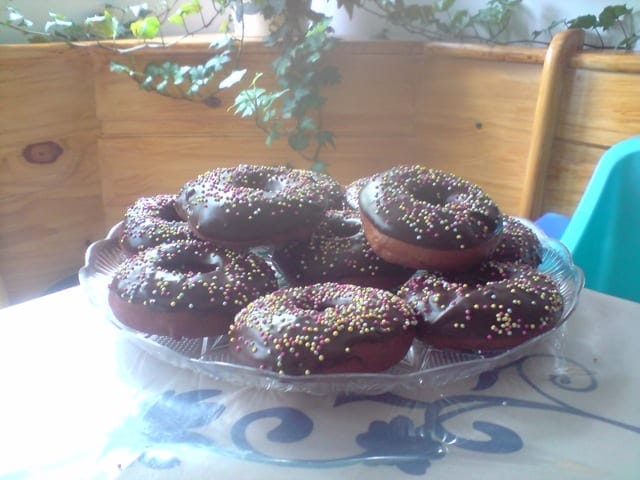
– Classic Chocolate Glaze
Melt dark, milk, or white chocolate and dip the top of each donut into the glossy coating. Chocolate adds richness and a smooth finish that pairs perfectly with the soft dough. Before the glaze sets, you can sprinkle crushed nuts, chocolate shavings, or colourful sprinkles for extra texture.
– Two-Tone Chocolate Drizzle
For a more eye-catching finish, dip the donut in one type of chocolate, then drizzle a contrasting chocolate over the top, white over dark, or dark over milk. This creates a beautiful bakery-style look with very little effort.
What Is a “Donut”?
The word donut is simply a shortened form of doughnut.
The original term comes from “dough” and “nut,” describing the small, nut-shaped pieces of fried dough that eventually evolved into the ring-shaped treat we know today.
Over time, the shorter spelling : donut became widely used, especially in North America, and is now the most common way to refer to this beloved sweet.
Why Make Donuts at Home?
Whenever I’m out with my kids and we walk past Krispy Kreme, arguably the best donuts here in England, they immediately beg for one.
But let’s be honest: buying just four donuts can get surprisingly expensive.
With the same amount of money, I could easily stock up on enough eggs, flour, and oil to make donuts for an entire classroom!
That’s exactly why I love this homemade recipe.
It delivers the same softness and sweetness as the classic shop-bought donuts, with a melt-in-your-mouth texture that stays fresh for up to two days.
Plus, there’s something incredibly satisfying about making them yourself and enjoying a big batch at home.
Tips for Success (Baker’s Hints)
- Take your eggs out of the fridge in advance, or pop them into warm water so they’re not too cold and don’t shock the yeast.
- Keep the salt separate from the yeast when you mix, salt can kill the yeast.
- The warm milk and melted butter must be at room-temperature to the touch (not burning). If it’s too hot, the yeast will release a bad smell.
- If kneading by hand, use a dough scraper (bench knife). The dough is sticky and tricky to work with by hand alone.
- For deeper flavour: let the dough ferment for 1h30, then refrigerate overnight. The next day take it out to warm before shaping.
- When frying: look out for a white ring around the middle of the donut, that was the tip from chef Paul Hollywood on “The Great British Bake Off” for a well-aerated donut.
Other treats to try

Homemade Soft & Delicious Donuts : Easy Recipe
- Total Time: 30 minutes
- Yield: 12 donuts 1x
Description
Enjoy making these soft, fluffy homemade donuts that stay fresh for days. This easy recipe gives you bakery-style results at home, perfect for family snacks, weekend treats, or sharing warm, freshly made donuts with loved ones.
Ingredients
- 2 room-temperature eggs
- 1 packet dry active yeast
- 1 teaspoon vanilla extract
- 60 g granulated sugar
- A pinch of salt
- 60 g unsalted butter
- 250 ml warm milk
- About 500 g flour
Instructions
- Melt the butter in the milk, either on the stove or in the microwave.
- Allow the mixture to cool until it’s warm to the touch, not hot, so it doesn’t harm the yeast.
- Pour the warm butter–milk mixture into a large mixing bowl.
- Add the vanilla extract, sugar, eggs, salt, and dry yeast.
- Whisk everything together until well combined.
- Gradually incorporate the flour: start with the whisk, then switch to your hands or a stand mixer fitted with dough hooks as the dough thickens.
- Knead until the dough becomes soft, elastic, and no longer sticky.
- Cover the bowl with cling film and let the dough rise in a warm, turned-off oven for 1 to 1½ hours, until doubled in size.
- Deflate the dough gently to remove excess air.
- Roll it out on a floured surface to a thickness of about 1 to 1.5 cm.
- Cut out donut shapes using a donut cutter or a glass (about 10 cm), then cut out the centre using a smaller cutter.
- Place each donut on a floured surface and lightly dust the tops with flour.
- Cover and let them rise again for 30 minutes under a cloth or cling film.
- Heat the oil and fry the donuts on each side until golden, this cooks very quickly.
- Finish with your favourite glaze or serve warm with salted butter caramel.
- Prep Time: 20 min
- Cook Time: 10 min
- Category: desserts
- Cuisine: american cuisine
Nutrition
- Serving Size: 1 donut
- Calories: 250 kcal
bonsoir
pour la cuisson au four c’est quelle températures et combien de temps s’il vous plaît ?
cordialement
Bonjour, c’est une pate très fine, le four doit etre bien chaud, à 160 ˚C, jusqu’à ce que ça rend une belle couleur, entre 10 et 15 minutes selon la capacité du four.