
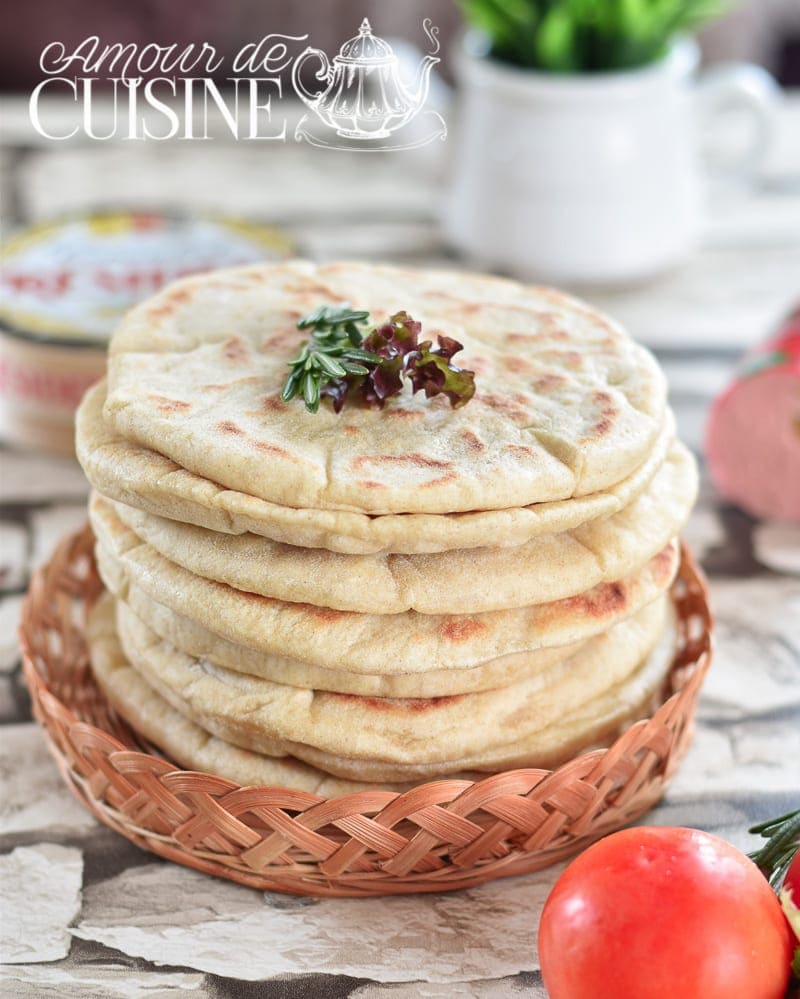
Easy Homemade Skillet Pita Bread
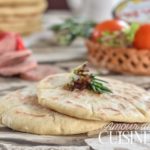
Sourdough Skillet Pita bread: a simple Lebanese recipe that’s soft, fluffy, and oven-free.
Perfect with hummus, falafel, or shawarma, this homemade flatbread comes together quickly with just a few ingredients.
A delicious way to bring Middle Eastern flavors to easy, home-cooked meals.
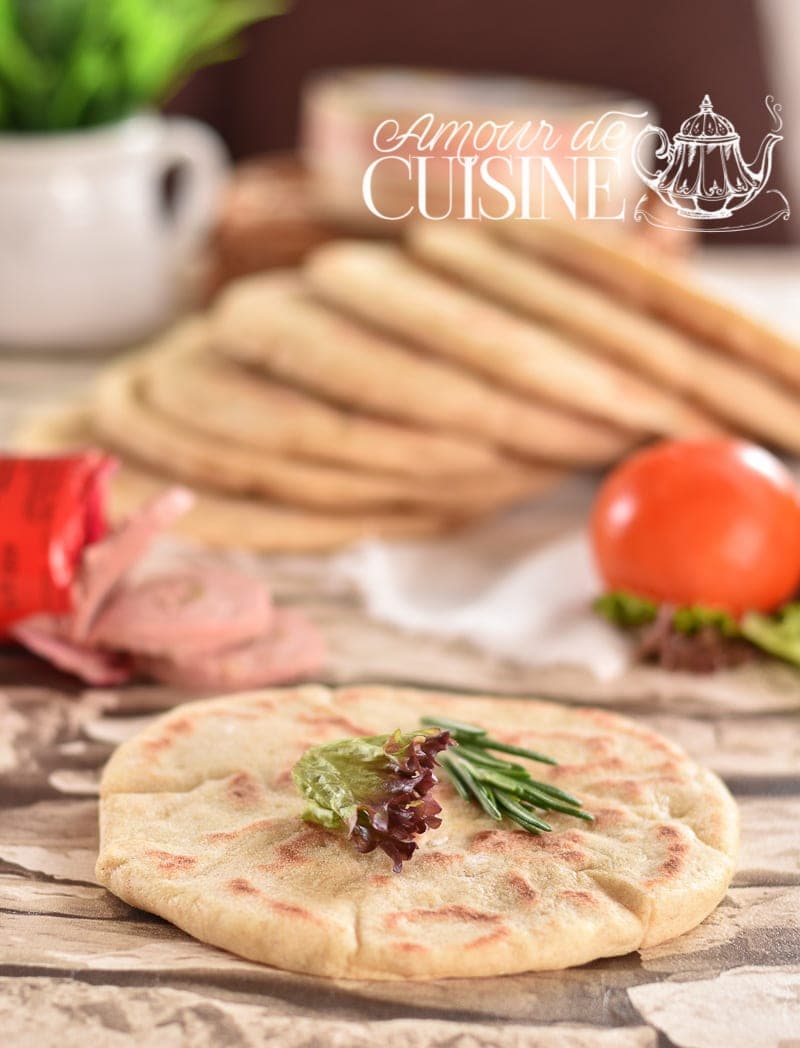
Lebanese Skillet Pita Bread (No-Oven, Soft & Puffy)
Today I’m welcoming you into my kitchen to make Lebanese skillet pita bread, soft, warm, and beautifully golden.
It’s a staple at home. My kids can’t get enough, especially when they stuff theirs with hummus, tzatziki, crunchy salad, and hot falafel.
My husband is just as devoted: he loves it as a sandwich, or served alongside a comforting chorba or a crisp, fresh salad.
He’ll often pile his high with thick slices of meatloaf for a heartier bite.
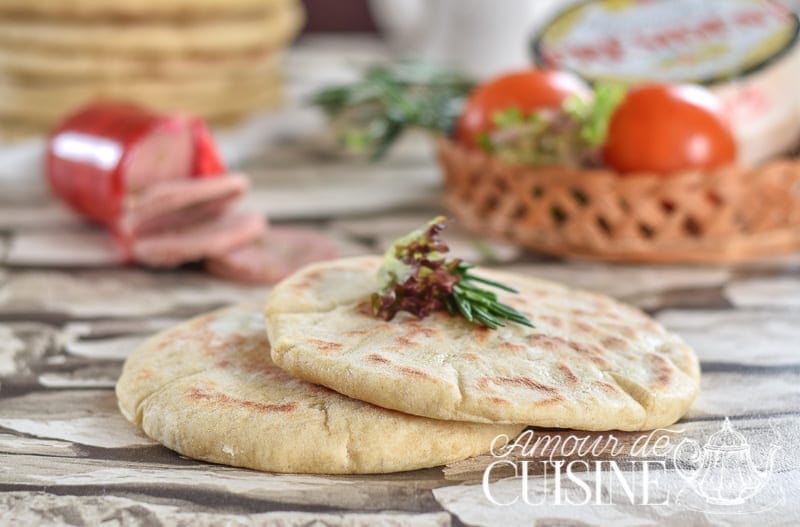
Every time these pitas hit the pan, the house fills with that irresistible bakery aroma, cozy, toasty, and a little bit nostalgic.
Simple ingredients, quick cooking, and big flavor; this is the kind of bread that makes everyday meals feel special.
Why you’ll love this recipe
- No oven required: All the puff, straight from a non-stick pan or crepe pan.
- Simple pantry ingredients: Flour, yeast, water, salt, and a touch of oil.
- Meal-prep friendly: Keeps 3 days at room temp or up to 3 months frozen.
Ingredients for Soft, Puffy Pita bread (with Helpful Notes)
Preferment (Starter)
- 1 Tbsp baker’s yeast (instant or active dry): Jump-starts fermentation for a reliable rise and better flavor.
- 1 Tbsp sugar: Optional but helpful, feeds the yeast and gets the starter bubbly faster.
- 250 ml lukewarm water (not hot): Aim for bath-warm (about 38-40°C / 100-105°F) to wake the yeast without killing it.
- 180 g all-purpose (plain) flour: Forms the base of the starter and builds gluten for a soft, elastic dough.
Dough
- 2 Tbsp oil (olive oil recommended): Adds tenderness and a subtle, savory aroma; also keeps the crumb moist.
- 1 tsp fine salt: Enhances flavor and strengthens gluten so pitas hold their pocket.
- 180 g all-purpose (plain) flour: Start with this amount, then add a little more during kneading only if the dough is sticky; you’re aiming for smooth and supple, not dry.
How to Make Homemade Skillet Pita (Step-by-Step)
This Lebanese pita bread is easy to make, just a little planning ensures a soft, puffy result. Follow these clear steps:
1) Make the preferment (starter)
- In a stand-mixer bowl or large mixing bowl, add: 1 Tbsp dry baker’s yeast, 150 ml lukewarm water (not hot), and 100 g flour (taken from the total).
- Stir with a spatula until smooth and fluid.
- Rest at least 20 minutes until bubbly.
Tip: In winter, place the bowl in a 40°C (warm, switched-off) oven to encourage fermentation.
2) Mix the pita dough
- To the bowl, add: 2 Tbsp neutral oil, 1 tsp fine salt, and the remaining flour (about 300 g).
- Knead (mixer or by hand) 6-8 minutes until the dough is smooth, supple, and not sticky.
- Transfer to a lightly oiled bowl; brush the top with a thin film of oil to prevent a skin.
- Cover and let rise 1½-2 hours, until doubled in size.
3) Shape the pitas
- Gently deflate the dough on a lightly floured surface.
- Divide into 8 equal balls.
- Set on a floured tray or clean cloth, cover, and rest 30 minutes.
4) Cook the pitas in a skillet
- Roll each ball into a ~3 mm thick disc.
- Rest 5 minutes before cooking, this helps the pitas inflate.
- Heat a lightly oiled non-stick skillet or crepe pan over medium-high heat.
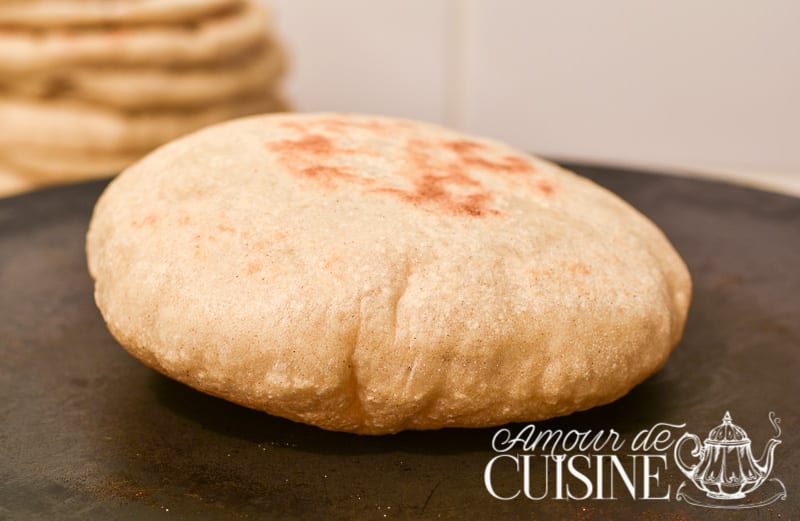
- Lay in one disc; cook until bubbles appear.
- Flip and continue, turning occasionally until the pita puffs fully and has light golden spots.
- Repeat with the remaining discs. Enjoy warm.
Storage, Freezing & Reheating Tips for Homemade Pita
– Do the Pitas stay soft after thawing?
Yes, especially if you warm them briefly before serving.
– How do I store pita for everyday use?
Once completely cool, keep pitas in an airtight bag at room temperature for up to 3 days.
– Can I freeze homemade pita?
Yes. Stack them in a freezer bag, separating each with baking parchment to prevent sticking.
– How long do they keep frozen?
Up to 3 months when well wrapped; they retain their softness.
– Best way to reheat from frozen?
Reheat straight from slightly frozen in a toaster or hot skillet for a few minutes.
Pro Tips for a Perfect Puff (Pocket Every Time)
– Rest the rolled discs (5 minutes): After rolling to about 3 mm thick, let each disc sit 5 minutes on the counter. This relaxes gluten so the surface seals on the pan, trapping steam that balloons the pita.
– Find the heat sweet spot: Preheat the skillet over medium–medium-high until a water droplet skitters, not evaporates instantly. Too cool = no puff; too hot = scorched spots and a dry crumb. Nudge the heat up or down between pitas.
– Cook by signs, not just time: You want small bubbles within 20-40 seconds. Flip as soon as you see several bubbles, then flip again every 15-20 seconds. Those gentle multiple flips encourage a full pocket without drying the bread.
– Use minimal bench flour: Excess flour chars and prevents the top and bottom from sealing, which kills the puff. Lightly dust, roll, then brush or shake off any extra before the disc hits the pan.
– Cover as you go: Stack cooked pitas under a clean kitchen towel (or slide into a zip bag left slightly open). The trapped steam keeps them soft and pliable for filling.
– Test one, then adjust: If the first pita doesn’t puff, try: rolling a touch thinner, extending the pre-pan rest by 2-3 minutes, or raising the heat slightly.
– Pan choice matters: A heavy non-stick or cast-iron surface holds steady heat, giving you faster bubble formation and better pockets.
– Don’t crowd the pan: Cook one at a time. Overcrowding drops the temperature and flattens your puff potential.
Other bread recipes to try
Easy Homemade Skillet Pita BreadHomemade Pita Bread Recipe Easy Steps for Soft Puffy Pitas
- Total Time: 45 minutes
- Yield: 8 pitas 1x
Description
Pita bread is a soft, flavorful flatbread from Lebanon, and it’s surprisingly easy to make. Today’s version is cooked in a skillet, so there’s no need to turn on the oven to bake your bread.
Ingredients
Starter (Sourdough)
- 1 Tbsp baker’s yeast (instant or active dry)
- 1 Tbsp sugar
- 250 ml lukewarm water (not hot)
- 180 g all-purpose (plain) flour
Dough
- 2 Tbsp oil (olive oil recommended)
- 1 tsp fine salt
- 180 g all-purpose (plain) flour
Instructions
1) Make the preferment (starter)
-
In a stand-mixer bowl or large mixing bowl, add: 1 Tbsp dry baker’s yeast, 150 ml lukewarm water (not hot), and 100 g flour (taken from the total).
-
Stir with a spatula until smooth and fluid.
-
Rest at least 20 minutes until bubbly.
2) Mix the pita dough
-
To the bowl, add: 2 Tbsp neutral oil, 1 tsp fine salt, and the remaining flour (about 300 g).
-
Knead (mixer or by hand) 6-8 minutes until the dough is smooth, supple, and not sticky.
-
Transfer to a lightly oiled bowl; brush the top with a thin film of oil to prevent a skin.
-
Cover and let rise 1½-2 hours, until doubled in size.
3) Shape the pitas
-
Gently deflate the dough on a lightly floured surface.
-
Divide into 8 equal balls.
-
Set on a floured tray or clean cloth, cover, and rest 30 minutes.
4) Cook the pitas in a skillet
-
Roll each ball into a ~3 mm thick disc.
-
Rest 5 minutes before cooking, this helps the pitas inflate.
-
Heat a lightly oiled non-stick skillet or crepe pan over medium-high heat.
-
Lay in one disc; cook until bubbles appear.
-
Flip and continue, turning occasionally until the pita puffs fully and has light golden spots.
-
Repeat with the remaining discs. Enjoy warm.
- Prep Time: 40 min
- Cook Time: 5 min
- Category: bread
- Cuisine: lebanese cuisine
Nutrition
- Serving Size: 1 pita
- Calories: 260 kcal